Installing and setting up the Jones app on your Procore account is a simple 4-step process. The video below walks through each step with a detailed overview of what your team will need to do.
Step #1: Install Jones in the Procore App Marketplace
There are a number of different ways you can choose to set up Jones in your Procore account.
Where to find configurations in the Jones app
Once the Jones app has been installed, click on “App Management” in the upper right-hand corner of Procore.
– Navigate to “Jones” in your list of apps and hit the “View” button
– Click on the “Configurations” tab on top and then “Create Configuration”
Selecting configurations in the Jones app
Using Jones on specific projects or across all projects on your Procore account
We recommend checking off “Global Projects Config” so Jones is configured across all of your Procore projects.
Don’t check this box if you only want to select Jones for certain Procore projects. In generally, we don’t recommend this. Most customers configure Jones across all their Procore projects.
Creating Global Insurance Requirements
If you would like to use Global Insurance Requirements, select “Company Level Config.”
Selecting a name for the Jones app in your Procore account
Lastly, choose a name for the Jones app in your Procore account. All of your team members will see this name when they open up the “Apps” section of their Procore accounts.
Most of our customers call this “Jones COI Compliance” but the choice is up to you!
Type it in the “Title” section and hit the “Create” button to save your configurations.
You can change any of these configurations at any time.
Regardless if you already use Procore company permission templates or not, you’ll need to provide Jones with a permissions template containing a list of users to be added to Jones.
– Navigate to “Company Tools” from your home screen in Procore
– Select “Permissions” under the “Core Tools” column
– Click on “Company Level Permissions Templates”
The list of your company’s users that can be added to new projects and view compliance information will depend on the company permissions templates you provide to Jones.
Once you’ve selected the Procore permission template you would like to use, simply send an email to your implementation manager with the exact name of the template you have chosen.
Controlling Jones user permissions
If you provide Jones with one Procore permissions template, all users will be added to Jones with “compliance manager” permissions.
If you provide Jones with more than one Procore permissions template, your team members can be associated to different permissions in Jones.
For example: one Procore permissions template can have users that are set up as “read-only” users in Jones, and another Procore permissions template can have users that are set up as “compliance managers” in Jones. See the below chart detailing what different Jones permissions mean.
Create a new user for Jones in your Procore account so our support team will have access in case any issues arise.
Follow the steps below to create a new user for Jones Support purposes:
– Navigate to the”‘Company Tools” section on top of Procore
– Click “Directory” under the “Core Tools” column
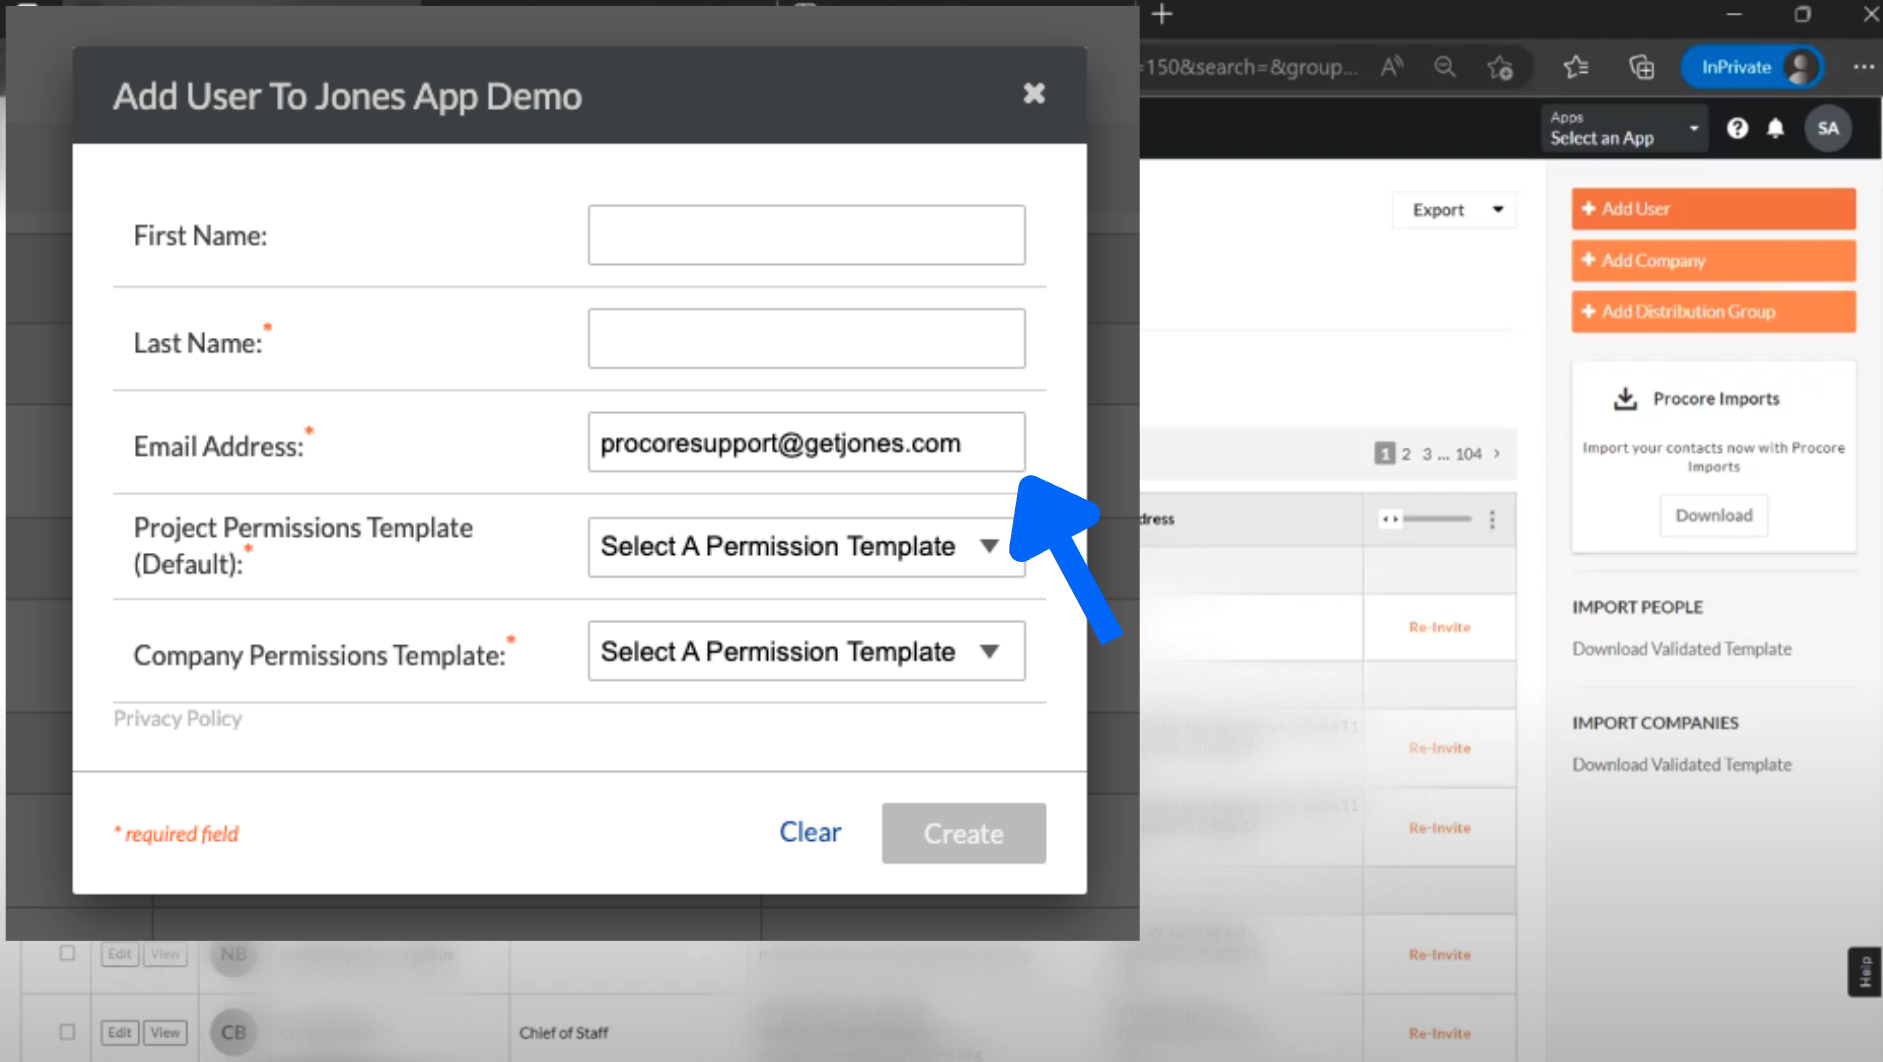
– Click “Add User” on the upper right-hand corner
You can give this new user “read-only access” in Procore and choose any first and last name, but make sure to use the exact email address: procoresupport@getjones.com